
Defining Filtered Fields
The Filtered Fields tab allows you to fetch entity data from lookup fields. You can dynamically gather data from the platform and display it on forms / user journeys as best suits your business needs.
With Filtered Fields you can control the values that can be used in a field on forms based on the value selected in another field. For example, the Countries and States / Provinces fields. When a user selects a country, you might want to display the states / provinces corresponding to the selected country.
How to add filtered fields
Before starting the process, make sure that there are three entities created, two entities will serve as look-up to one another (for example entity A and entity B) and a third on which the digital journey is built (entity C).
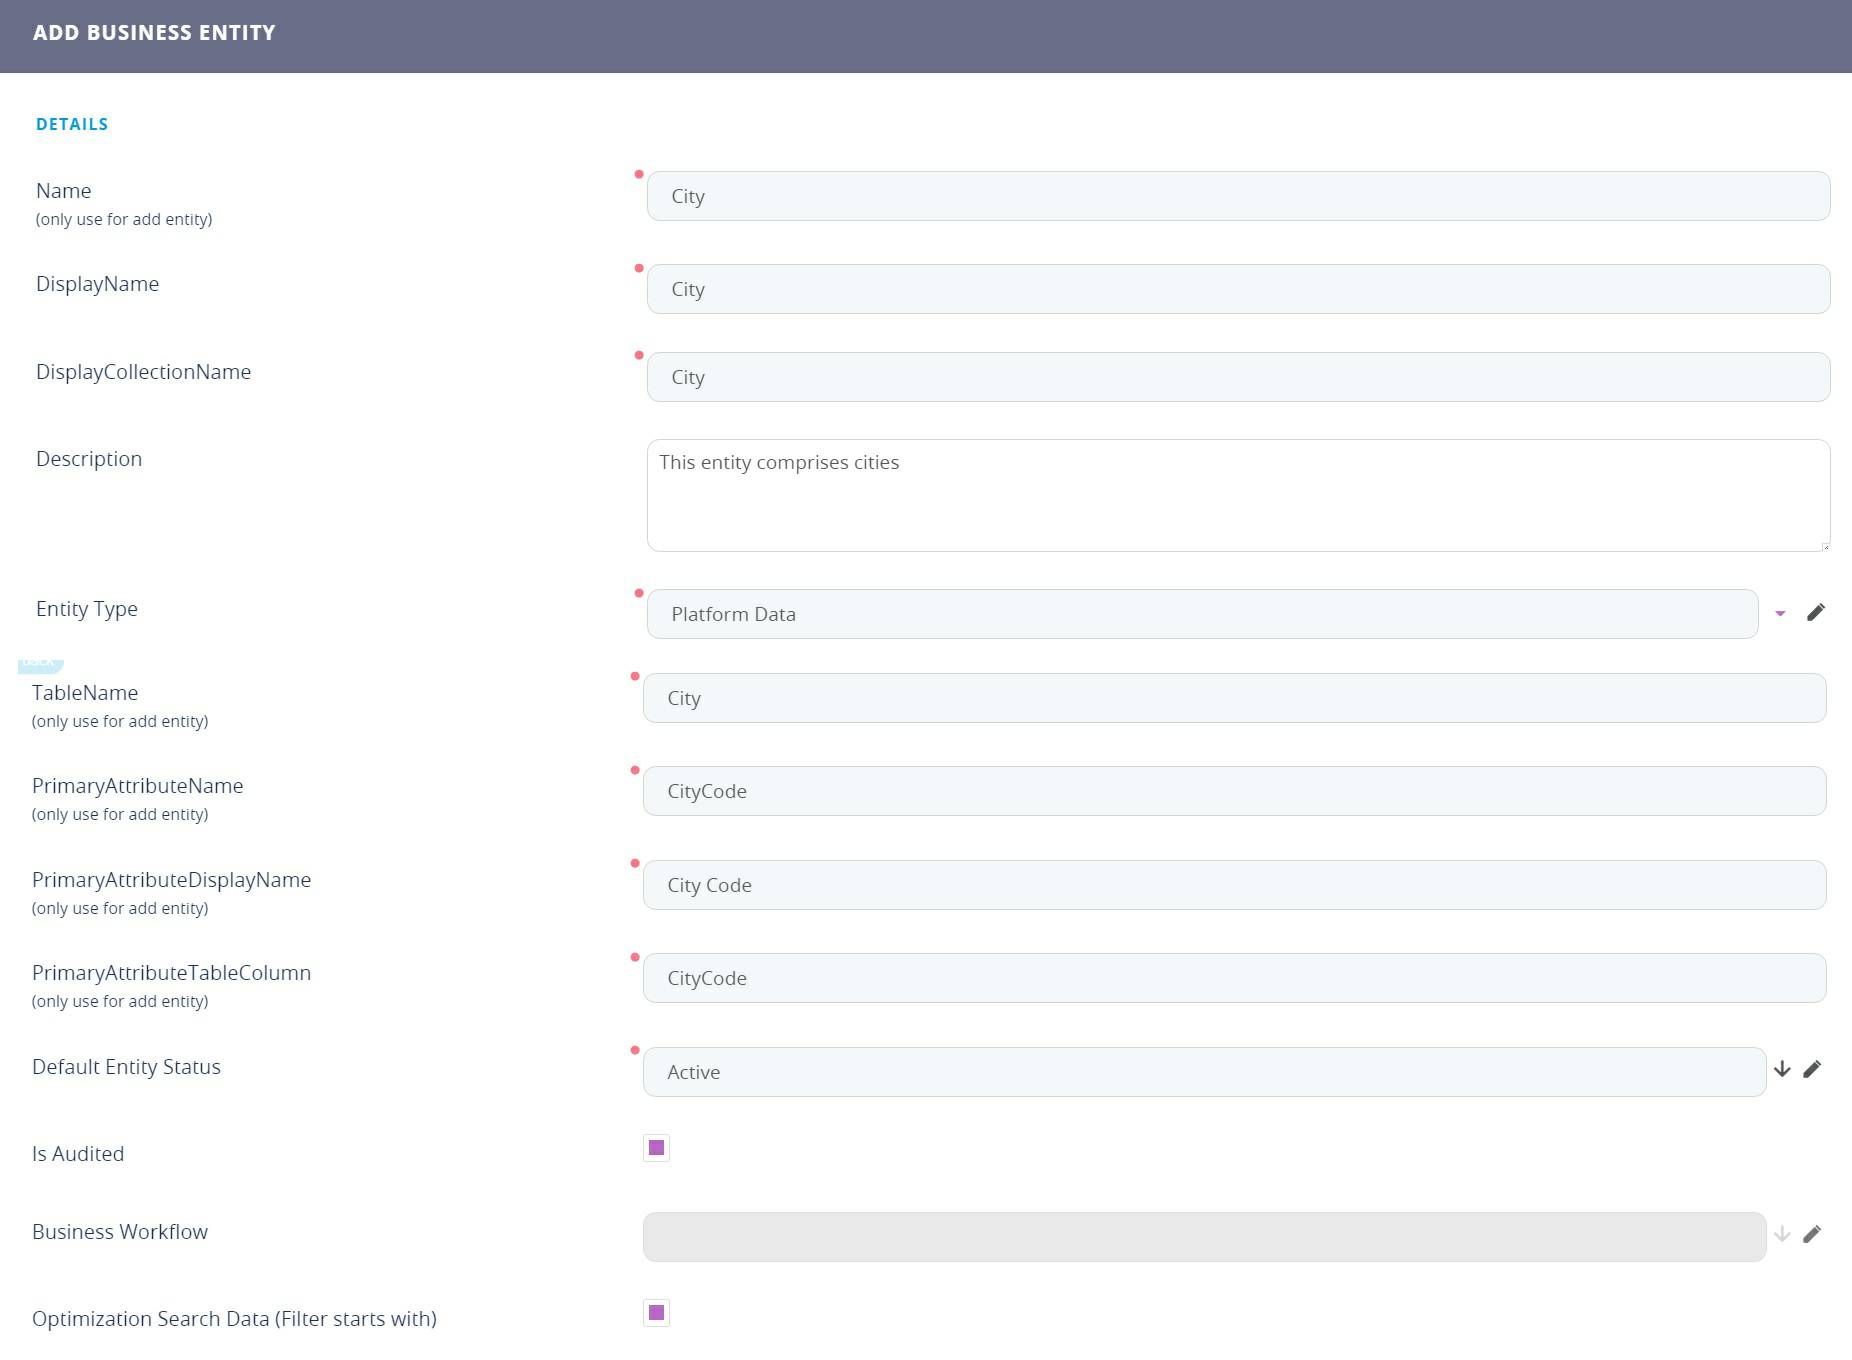
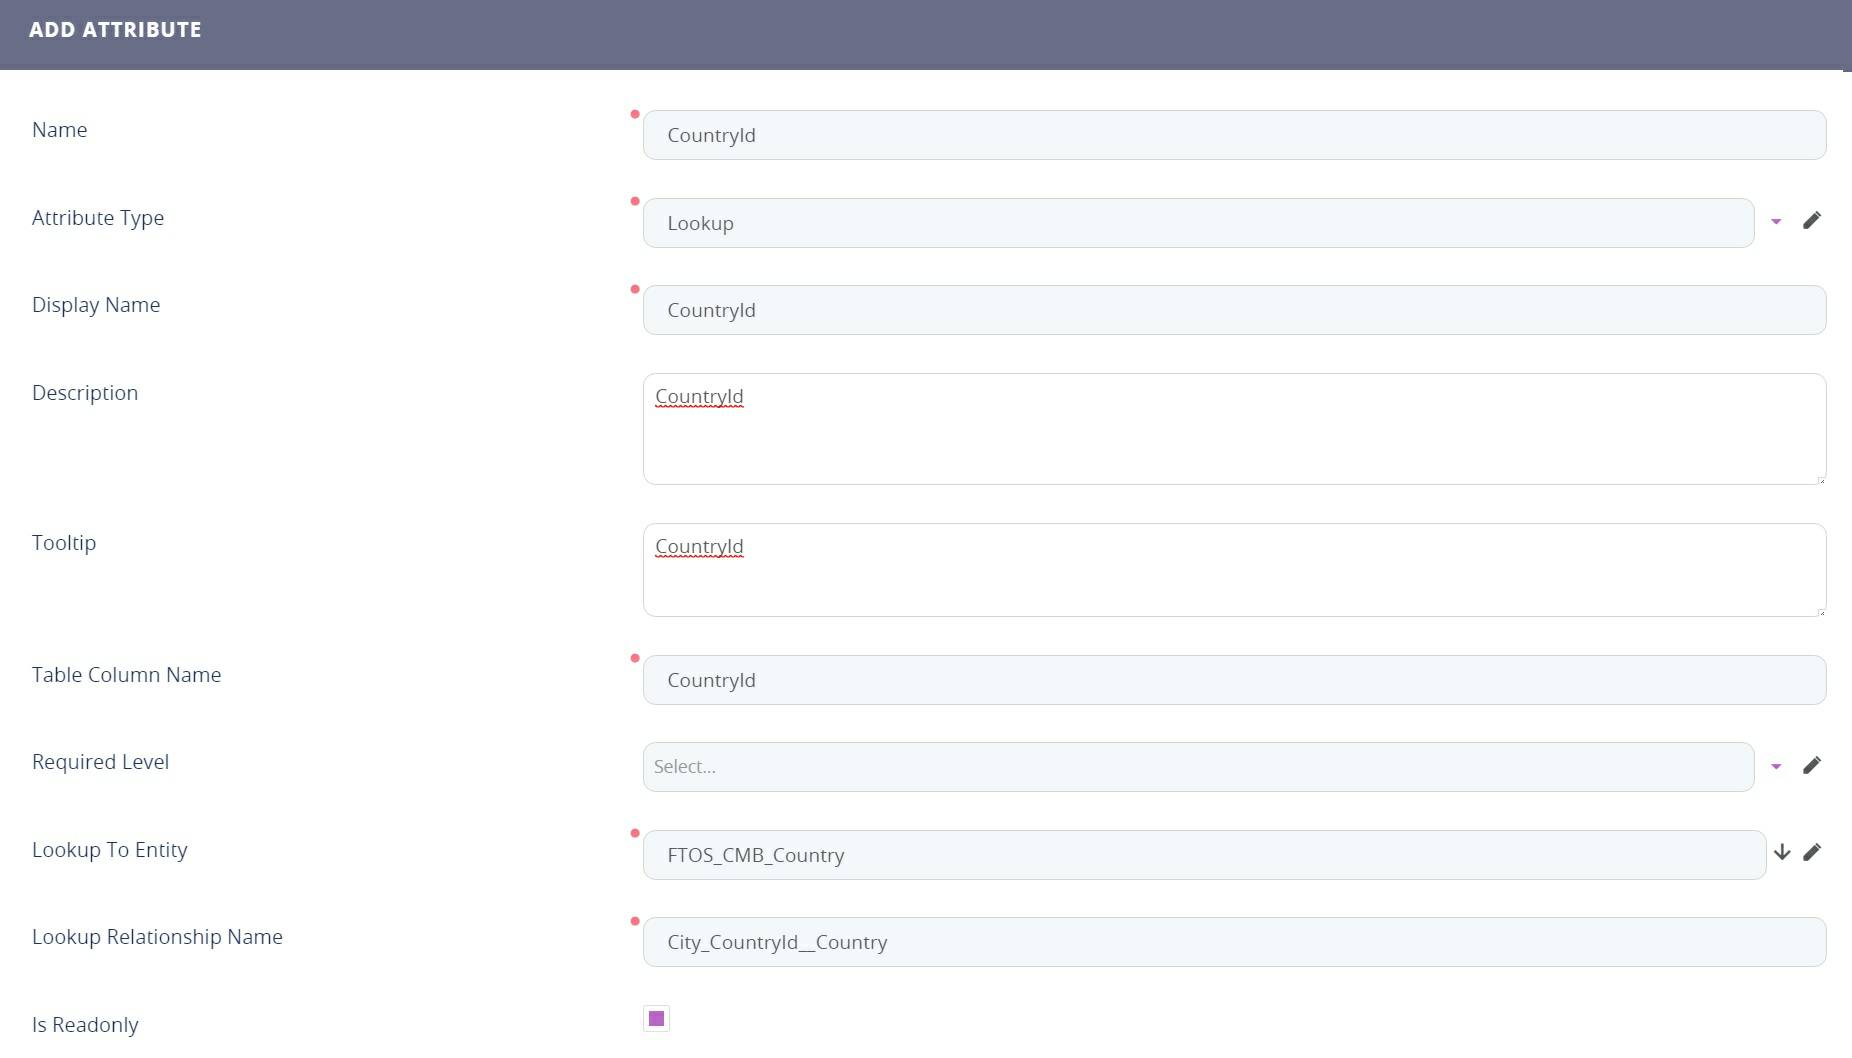
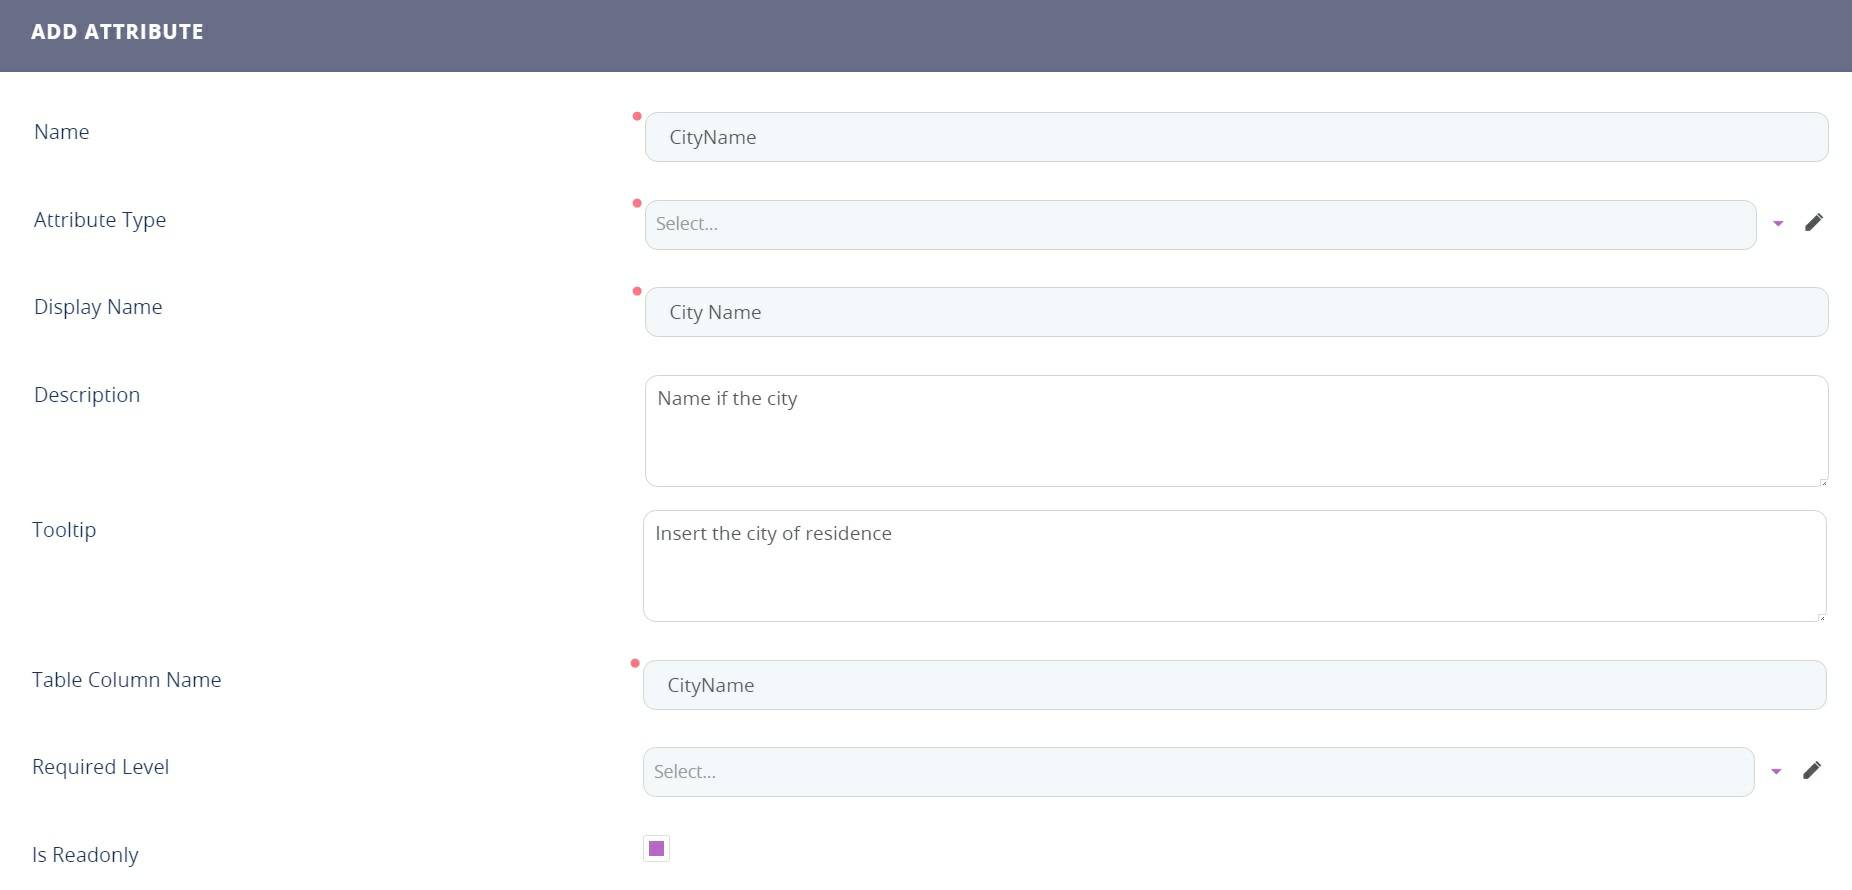
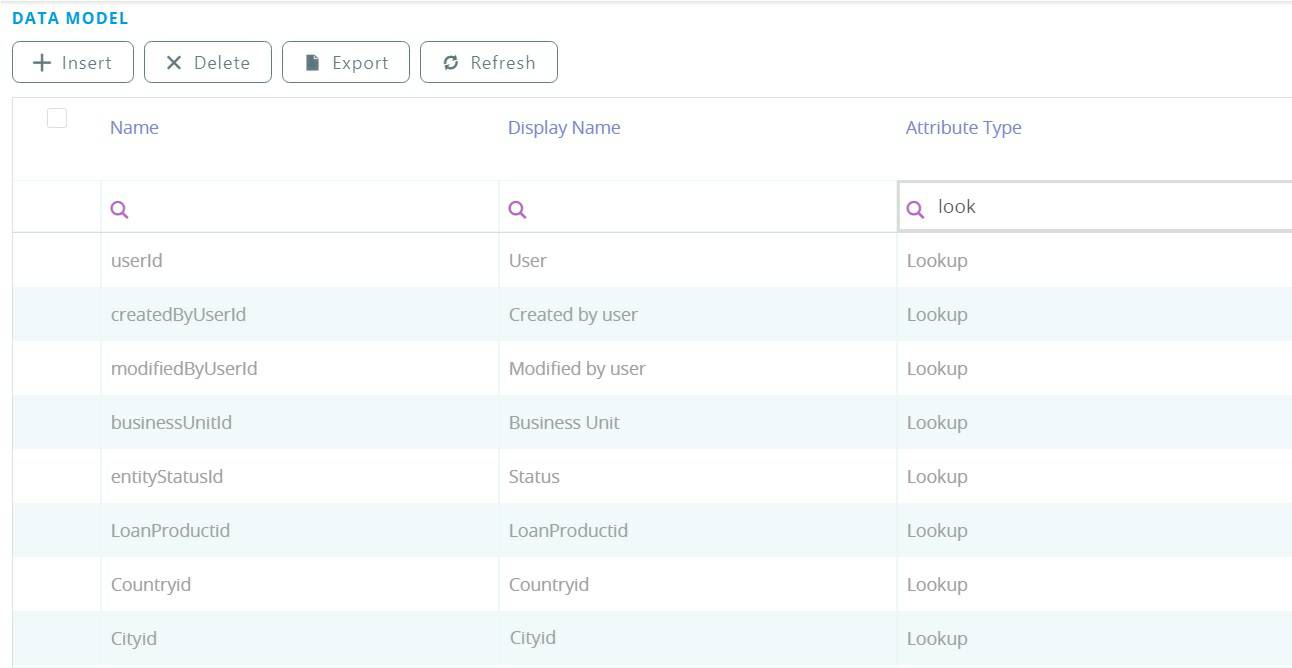
The two entities A and B need a primary attribute name (see Attributes), then create a secondary attribute for each of the entities. Afterwords, create a look-up attribute from entity B to A and the name of this attribute must coincide with PK name of the other entity e.g. in entity B create a look-up attribute to entity A named entityAID.
Moreover, configure the data view on both to show these attributes (see Data Views).

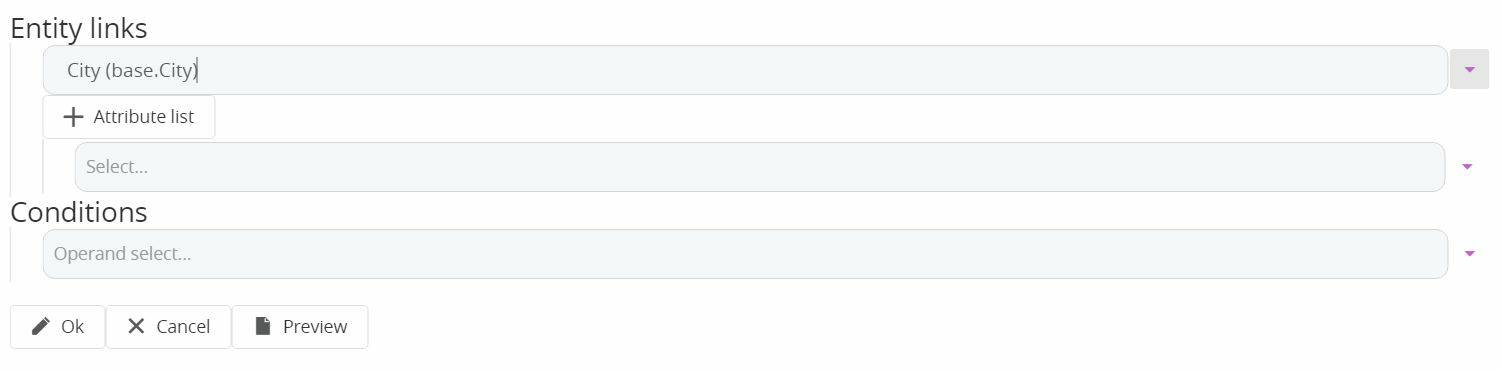

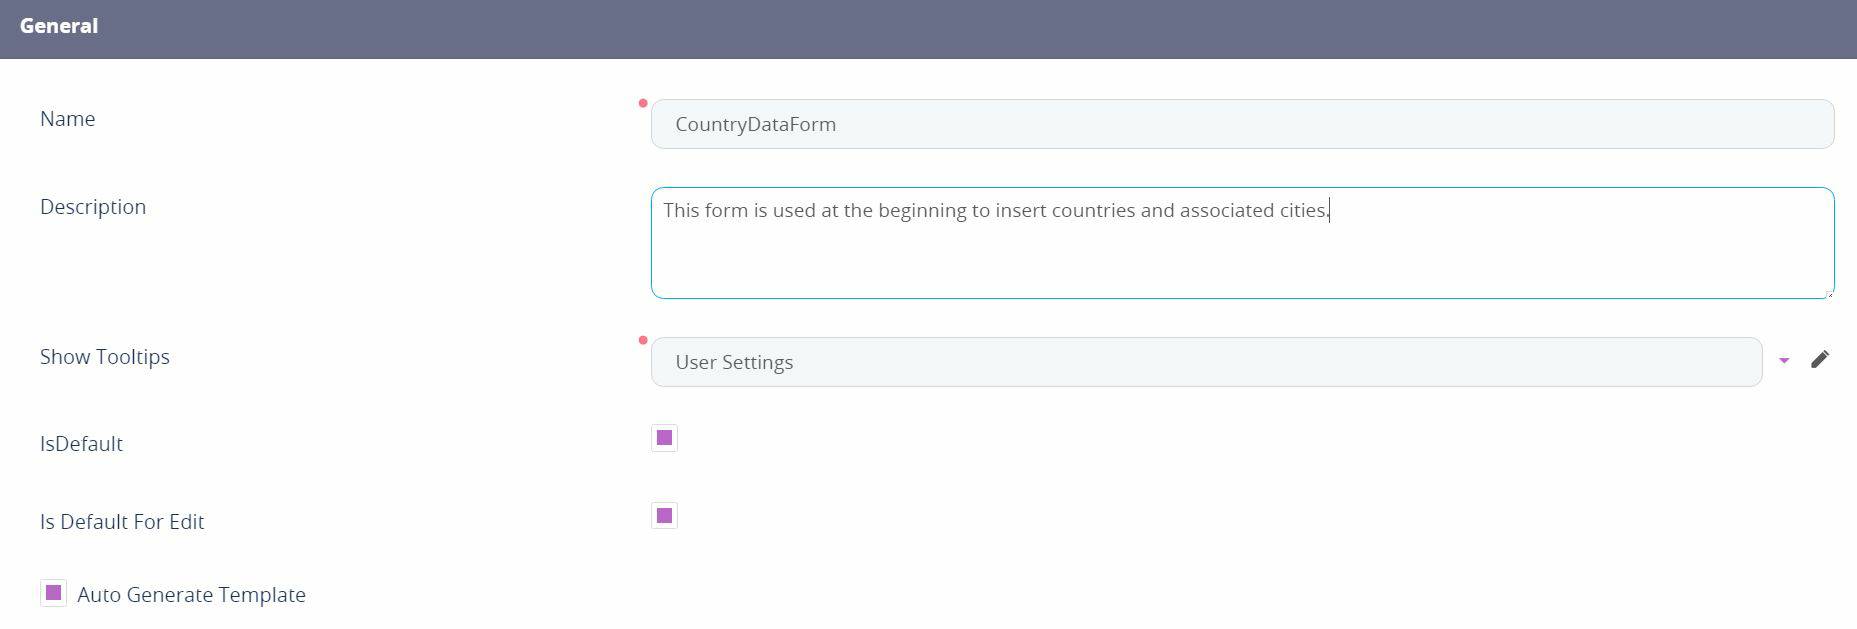
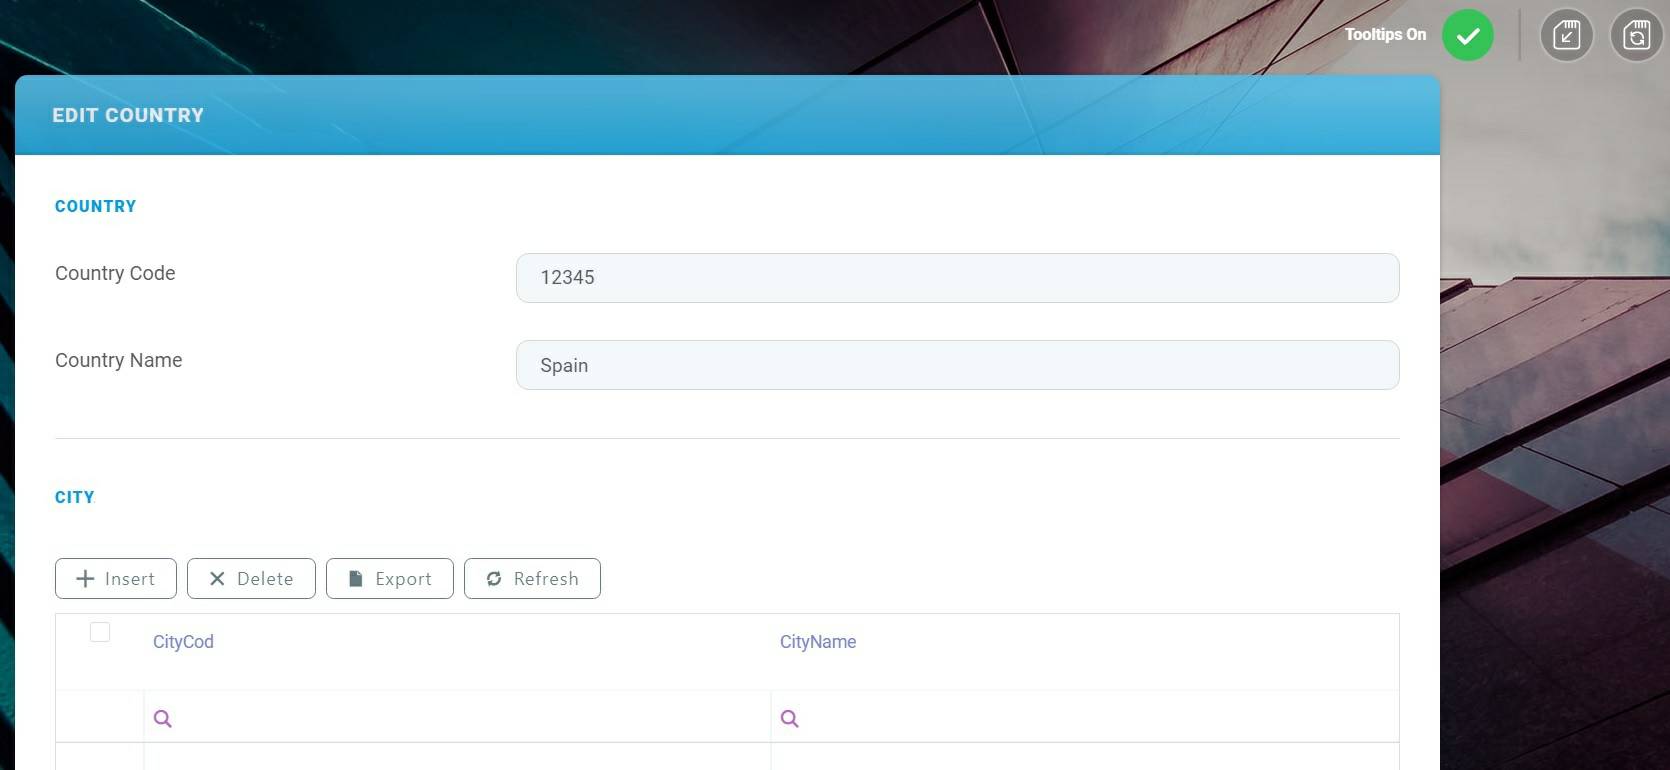
Next, configure the data form (see Data Forms) on entity A, where in the UI tab insert the two attributes created and a relational container where a user must select the relation between entities A and B and tick the view grid default which was edited earlier.
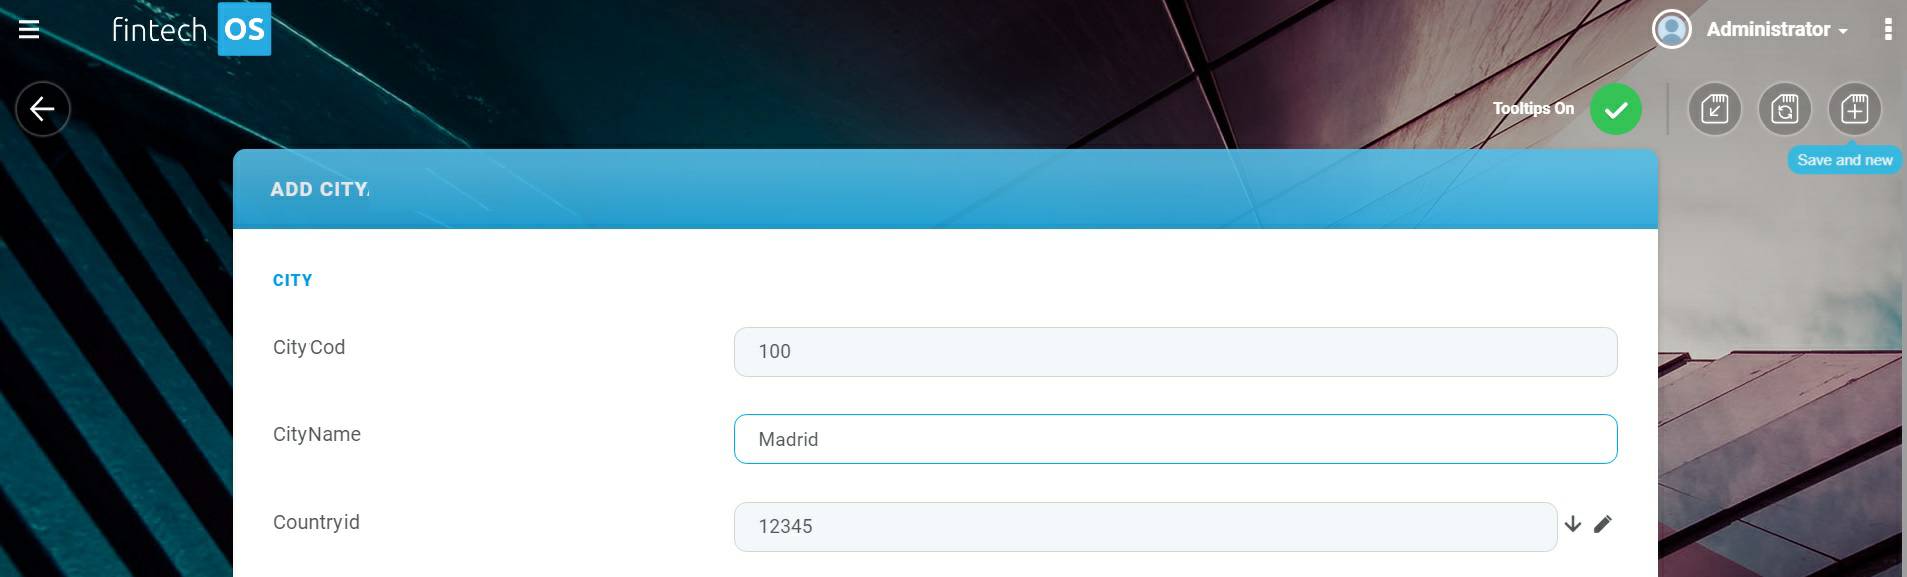
Create a shortcut to the entity A of the type Insert on one of the available Dashboards. Where map the values form one field to the other.

Inside entity C, create two attributes type look-up to A and B. The names must coincide with the PK e.g. entityAID and entityBID.
Going into the digital journey or flow, open the step where the attributes are needed and insert the two attributes created before e.g. entityAID and entityBID.
To add filtered fields, in the Filtered Fields section, from the Filter Fields list, click the Insert button. The Add Filtered Field page will be displayed. Read the on-screen description and provide the properties:
At the upper-right corner of the page, click the Save and Close icon. The record is saved and is displayed in the Filtered Fields list.
For example, entity A is a country entity and entity B is a city entity and C is Account or client entity.
Filtered fields on editable views
The filtered fields also apply on editable views. If you set up inline editing for a view, the filtered fields settings that you find on the data form will also apply on the view.
In the Attribute To Filter Reference field, you can also specify the alias when you use a custom view for the lookup that will be filtered and this field is not on the main entity (the entity of the lookup).
When using a custom view for the lookup field that will be filtered and this field is not on the main entity (the entity of the lookup), in the Attribute To Filter Reference field, you can also provide the alias.

In the example above, Attribute to filter reference is "f2.Field3Id" and "f2" is the alias from the entity Field3 which is related to Field1 which is the entity from the lookup.